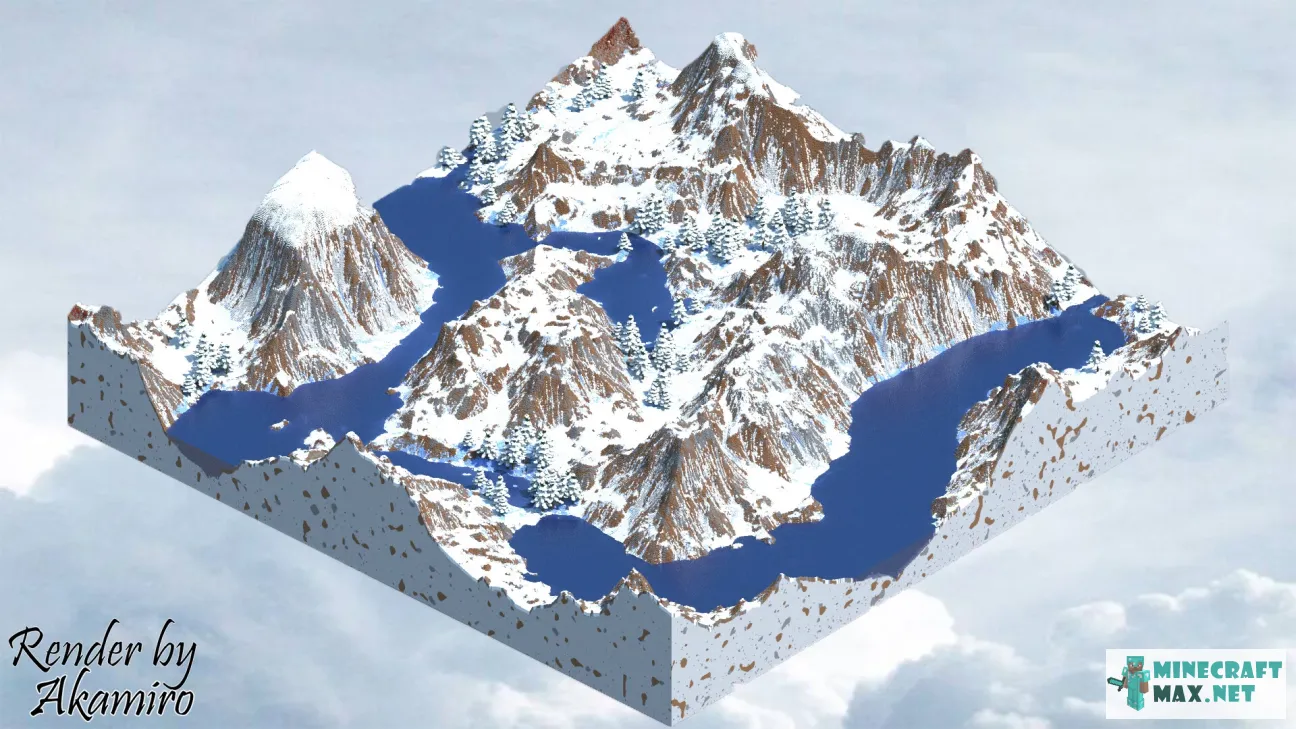
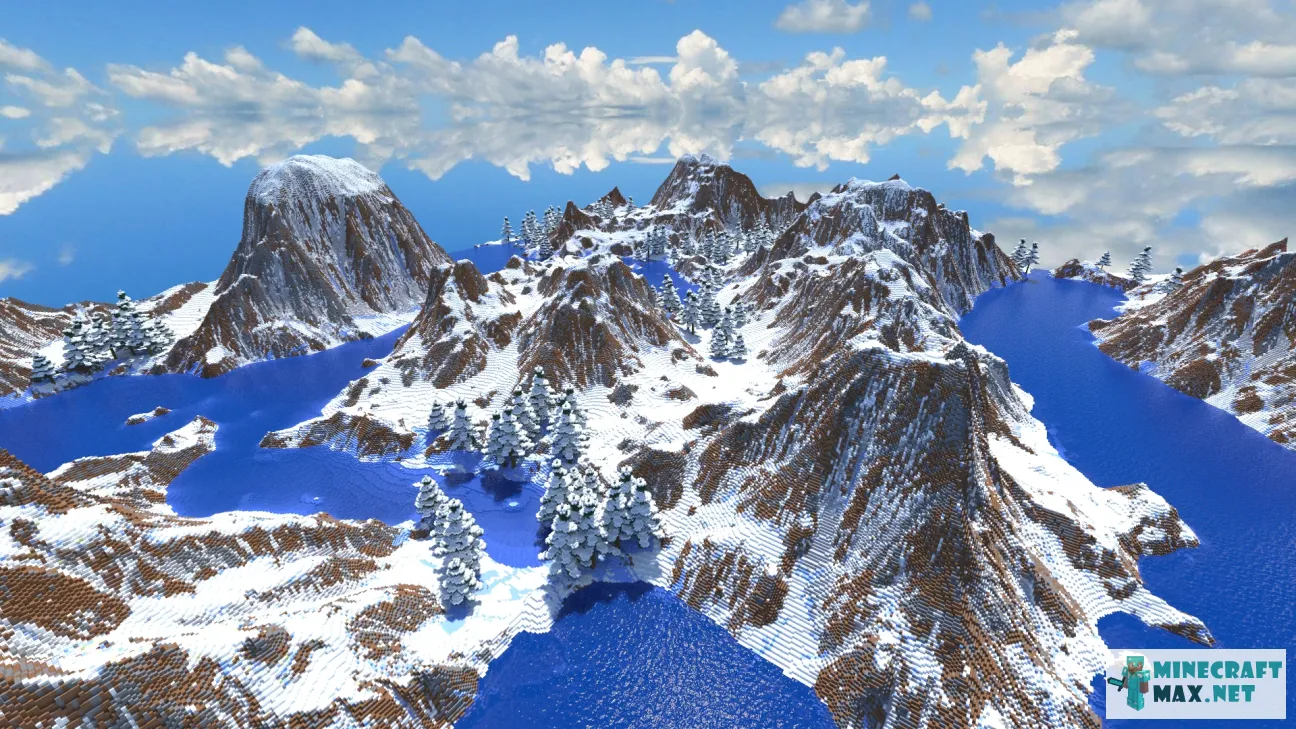
1000 | Custom Map | Snowy Mountain Biome
| Type | Other |
|---|---|
| Original name | 1000 Snowy Mountain Biome |
| File | 13Mb, zip |
 Installing the map "1000 | Custom Map | Snowy Mountain Biome"
Below is a detailed step-by-step instruction for installing the "1000 | Custom Map | Snowy Mountain Biome" map so that you can play Minecraft with pleasure!
- Download the map, inside it is a zip-archive with the folder "1000 | Custom Map | Snowy Mountain Biome".
- Go to Minecraft, the main menu will appear.
- Press the "Single Player" button, a list of saved worlds will appear.
- Select any saved world, the buttons below will be activated.
- Press the "Edit" button, the world settings menu will appear.
- Click the "Open world folder" button, the Explorer window will open.
- Go to the "saves" folder, a list of folders of saved Minecraft worlds will appear.
- Copy the "1000 | Custom Map | Snowy Mountain Biome" folder (from the zip archive in step #4) to the "saves" folder.
- Return to Minecraft.
- Return to the main menu so that the menu item "Single Player" appears.
- Click the "Single Player" menu again to make the new map appear in the list.
- Start a saved world named "1000 | Custom Map | Snowy Mountain Biome".
- Enjoy playing Minecraft!
We recommend making a shortcut to the "saves" folder on your desktop so that next time you can add a Minecraft map much faster.
To view the advice, you must log in
Comments
Here you can read the comments of other users or leave your own question or feedback.
No comment yet


