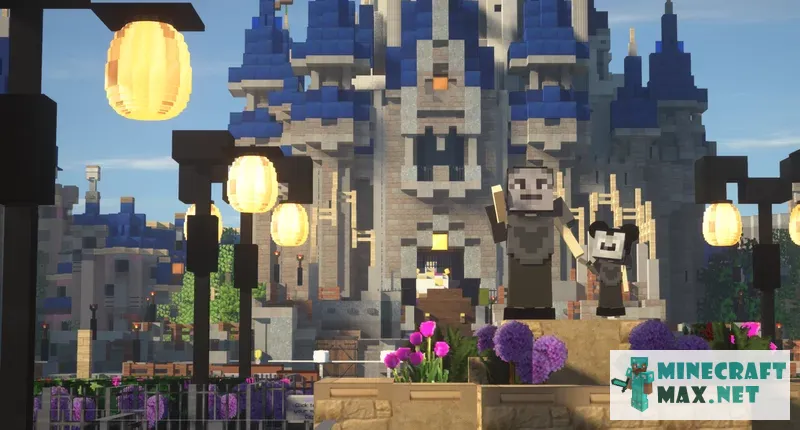
Walt Disney World
| Type | Structures / Other |
|---|---|
| Original name | Walt Disney World |
| File | 21Mb, mcworld |
 Installing the map "Walt Disney World"
Below is a detailed step-by-step instruction for installing the "Walt Disney World" map so that you can play Minecraft with pleasure!
- Download the map, inside it is a zip-archive with the folder "Walt Disney World".
- Go to Minecraft, the main menu will appear.
- Press the "Single Player" button, a list of saved worlds will appear.
- Select any saved world, the buttons below will be activated.
- Press the "Edit" button, the world settings menu will appear.
- Click the "Open world folder" button, the Explorer window will open.
- Go to the "saves" folder, a list of folders of saved Minecraft worlds will appear.
- Copy the "Walt Disney World" folder (from the zip archive in step #4) to the "saves" folder.
- Return to Minecraft.
- Return to the main menu so that the menu item "Single Player" appears.
- Click the "Single Player" menu again to make the new map appear in the list.
- Start a saved world named "Walt Disney World".
- Enjoy playing Minecraft!
We recommend making a shortcut to the "saves" folder on your desktop so that next time you can add a Minecraft map much faster.
To view the advice, you must log in
Comments
Here you can read the comments of other users or leave your own question or feedback.

Max #14101
There are Steve heads just everywhere. Is there a texture pack or behavior pack or mod or something that is supposed to go with this?
February 28, 2023 12:54 am
